DOI, login and logout page
A double opt-in allows for additional confirmation to validate each email address added to your account. When this setting is enabled, contacts created through a HubSpot form, lead ad form submission or Forms API will automatically receive a follow-up email with a link to confirm the email subscription.
Login and logout pages
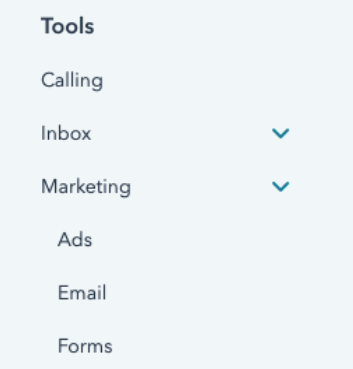
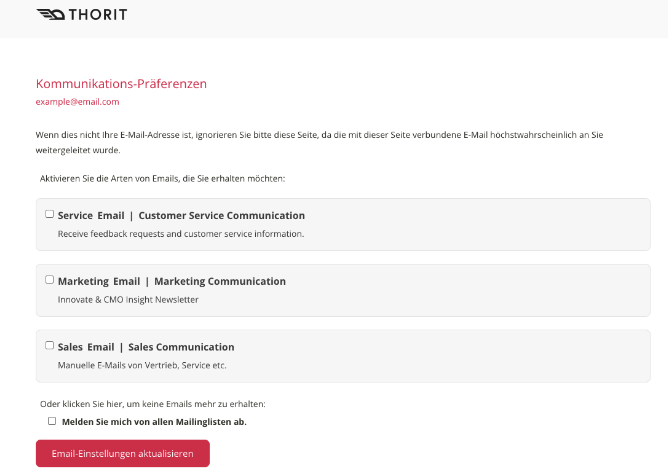
HubSpot offers the possibility to store or create subscription pages / settings pages. To do this, the "Email" section must be selected in the settings (gearwheel symbol at the top right) under Tools -> Marketing.
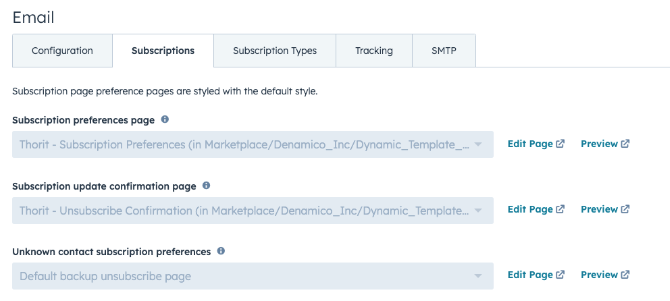
In the next step, the subscription and unsubscription pages can be edited and previewed. To do this, the tab "Subscriptions" must be selected. The pages created can then be stored or selected, which are to be displayed by default:
Clicking on "Edit page" takes you to the design manager where you can create the e-mails. Here, individual modules can be placed easily and at will. However, it is also possible to generate the modules via code. However, this is only recommended for advanced developers.
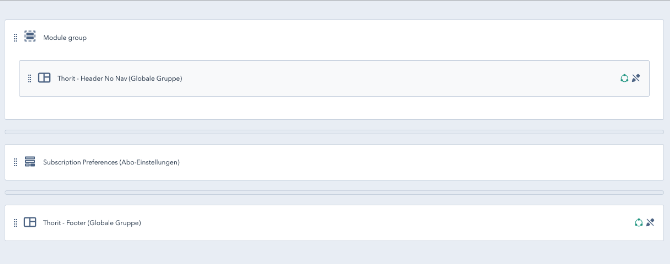
In most cases, the structure of the login and logout pages is kept very simple. It is important to mention that in addition to individual modules, module groups can also be generated. To do this, simply add the corresponding module. Individual modules can in turn be searched for using the search function.

The modules then only have to be dragged and dropped into the editor area. If you select an added module, it can be edited.
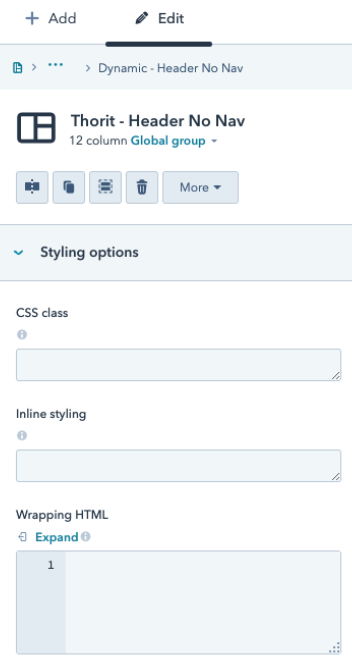
All modules have similar editing options. Besides style and editor options, the standard content options are particularly important. All headings and help texts are created here.
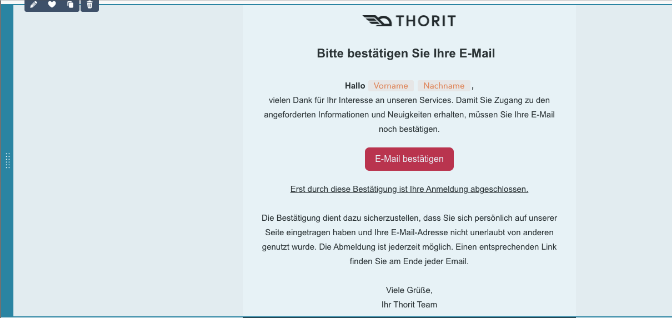
The preview function can then be used to take a closer look at the created page.
DOI
Just like subscription and unsubscription pages, a confirmation page for the double opt-in process can also be created and then selected.
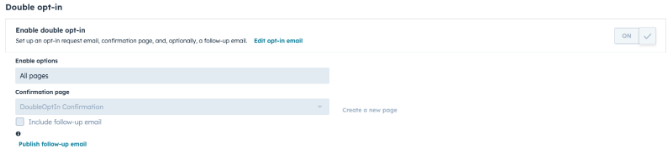
In order to be able to use this page, a double opt-in page must be activated in the first step (slider on the right-hand side). Then you must specify the pages for which the double opt-in mail is to be activated. In this case, all pages have been activated. Then you only have to select the corresponding Double-Opt-In mail. If no mail has been created yet, this can be done via "Create new page".
In this case, you will be redirected to the landing pages or have the option to create a suitable design for the double opt-in mail or other mailings. Clicking on "Edit opt-in email" gives you direct access to the double opt-in email.
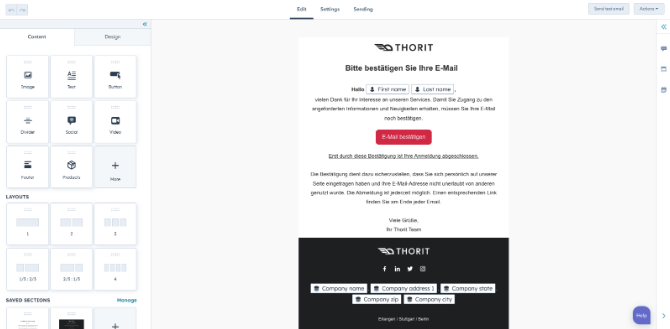
Here, too, the desired template can be assembled by drag & drop. Simply drag the desired content blocks to the appropriate place. If necessary, individual blocks can also be saved so that they do not have to be created again in the future.
This can be done by clicking on the heart symbol (top left in the picture). To edit the content of the email confirmation, click in the email text. In addition, the email contains a confirm button for contacts to confirm a subscription. To customise the subject line, sender address and other details of the confirmation email, click on "Settings" (bar above the template). In the last step, the e-mail must be checked. This can be done by clicking on "Check and publish". After publishing, you will automatically be redirected to the settings.